I've seen these adorable things on the Internet and have wanted to give it a try. This one is for my mom.
You will need:
A long sleeve shirt
Felt
Beads
Thread
A needle
Scissors
Start by finding an old shirt from your closet which you do not wear often, or don't like, or buy one at a thrift store. A stretchy knit is nice, but you could do this with a button-up blouse just as easily. It will just be stiffer and have less drape. This one is a very drapey knit. I got it at Value Village for about $6.
If your shirt came from a thrift store wash it before up-cycling.
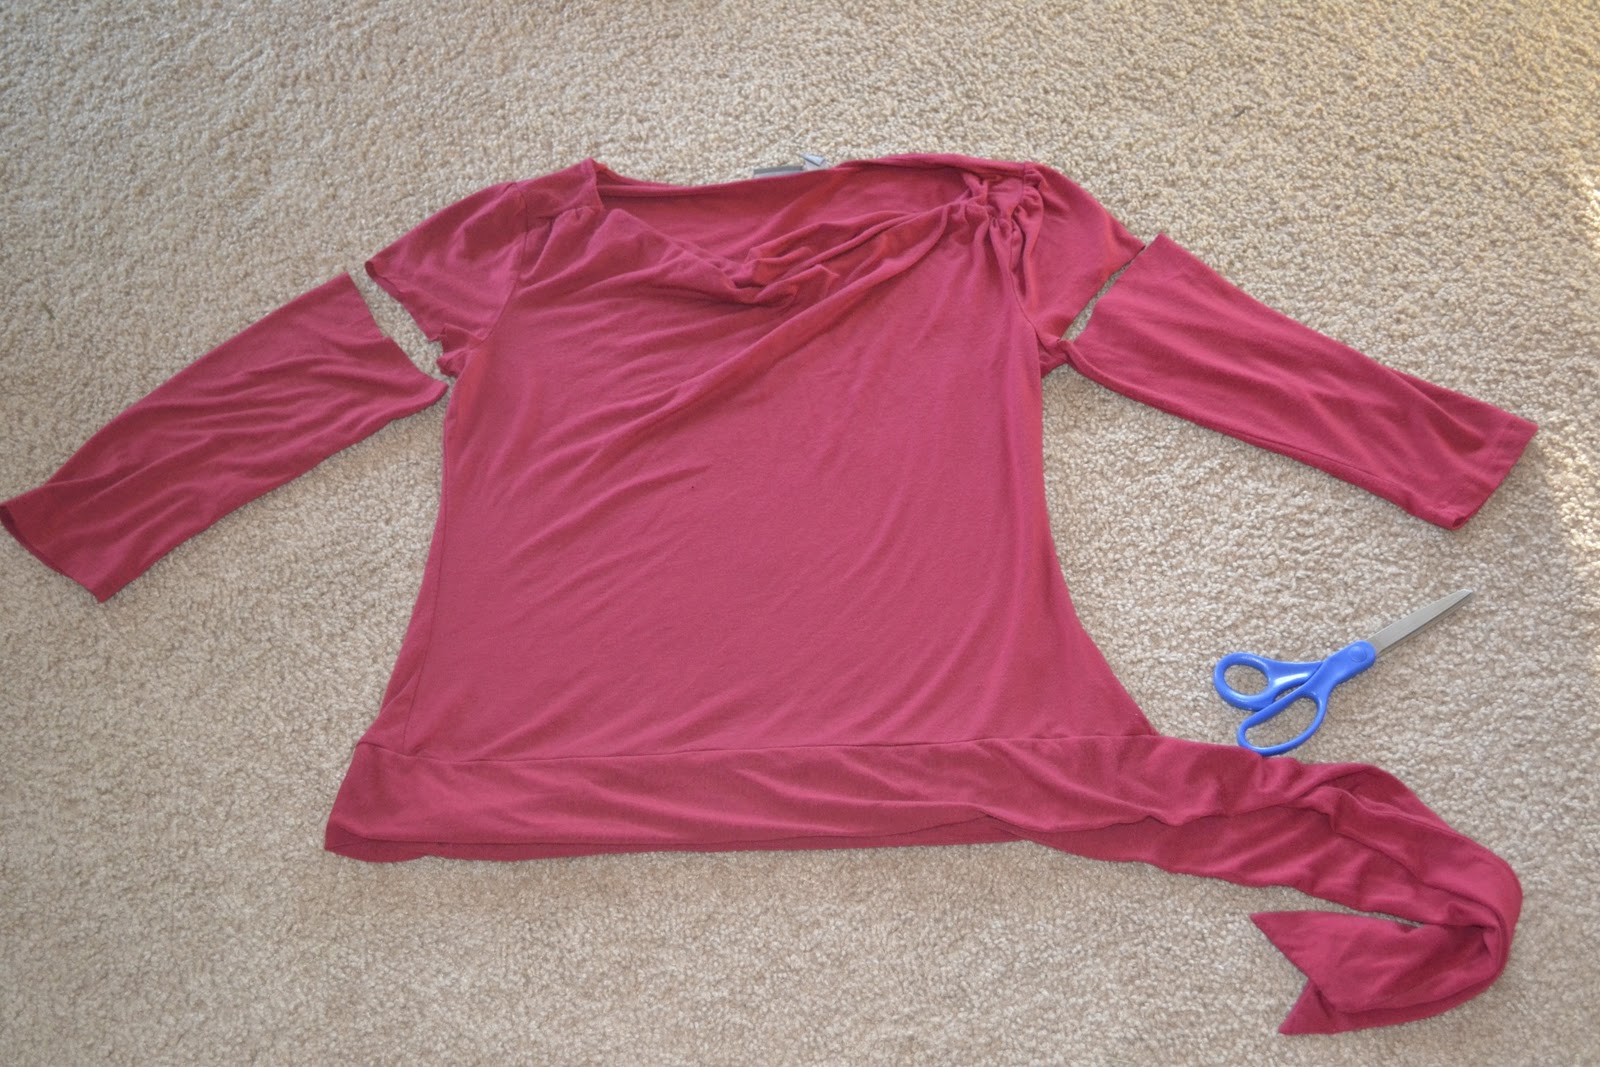
First things first: lop off the sleeves. Make sure you cut them the same length on both sides.
Turn the severed sleeves inside out and cut out the surged seam.
Plan your attack. If your shirt already has embellishments (like the tie on the left hip and the draped neckline of this one) then take those into account when planning your design, using them to your advantage. For example: because my shirt has a loose, hanging neckline I don't want to put anything too close to the edge of the neck, because it will just get lost in the hanging folds of fabric. I also don't want to add anything that requires too much structure to hold it in place.
Because this shirt looks so different lying down verses hanging, I worked on it hanging up. It helped a lot.
These sleeves were 3/4 length, so I had less fabric than I otherwise would have, but here is a way to get nice long strips out of short pieces of fabric:
Lay your sleeve flat and cut out a gumdrop shape.
From this piece cut another gumdrop.
And another.
And another.
This will give you three horseshoe shaped strips. These were perfect for my project.
Do the same with the other sleeve.
Take a strip and sew the two ends together (starting from the widest edge and working inward) like this:
Loosely sew along the inner edge.
Pull it snug.
Next, take a small circle of felt and stitch it into the center of your flower.
For some bling I added a giant red plastic bead on top of the felt.
For the smaller flowers I added a few seed-like rustic glass beads to the center.
Now, decide where your flowers should go and start sewing them on!
Pretty!
Because these flowers are so big and loose they wouldn't stay open.
I gently tacked the large flowers open at four points along the upper half, three points for the medium flowers, and once for the small flowers to keep them open and beautiful.
While embellishing the right side I noticed that the weight was not evenly distributed because the flowers were pulling the neckline down. To regain balance I added a couple flowers on the left side, slightly higher than the right . It worked!
Here it is! Good luck with your up-cycling!